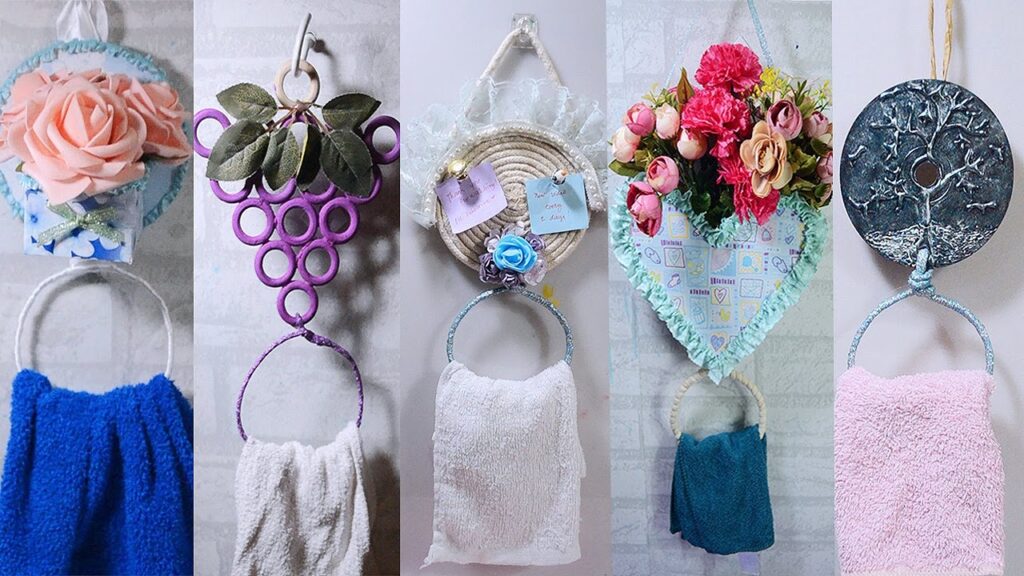
Making a DIY towel ring can be a simple and rewarding project that adds a personal touch to your bathroom or kitchen. Here’s a step-by-step guide on how to make your towel ring:
Table of Contents

Tools Required:
- Saw (if you need to cut the dowel)
- Screwdriver
- Drill with drill bits
- Sanding block or sandpaper
- Paintbrush or sponge brush (if staining or painting)
Materials Needed:

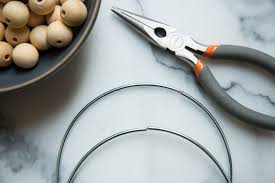
- A wooden or metal dowel (about 12 inches long)
- Sandpaper
- Wood stain or paint (if using a wooden dowel)
- Wall-mountable hardware (screws and anchors)
- A small wooden plaque or decorative piece (optional)
- Wood glue (if using a decorative piece)
Steps to making a DIY towel ring

Step 1: Choose and Prepare the Dowel
Step 2: Sand and Finish
Step 3: Attach the Dowel to the Wall
Step 4: Optional Decoration
Step 5: Final Touches
Step 1: Choose and Prepare the Dowel
Select Material:
Choose a suitable dowel material. Wooden dowels offer a natural look, while metal dowels can provide an industrial or modern feel.
Cut to Size (if necessary):
Use a saw to cut the dowel to your desired length, usually around 12 inches. Adjust the length based on your preference and available space.
Step 2: Sand and Finish
Smooth Edges:
Sand the cut edges of the dowel to make them smooth and prevent splinters. You can use sandpaper or a sanding block for this step.
Stain or Paint (if using wood)
Apply wood stain or paint to the dowel for a finished look. Allow it to dry completely according to the product’s instructions.
Step 3: Attach the Dowel to the Wall
Find a suitable location.
Choose a location on the wall where you want to install the towel ring. Consider the height and accessibility for hanging and retrieving towels.
Install wall-mountable hardware:
Use a drill to install the wall-mountable hardware. If your dowel has a wooden plaque, you can attach it to the wall first and then affix the dowel to the plaque.
Secure the dowel.
Once the hardware is in place, secure the dowel in position. If using a metal dowel, you may need to slide it onto the wall-mounted hardware. If using a wooden dowel, you can attach it directly to the wall-mounted hardware.
Step 4: Optional Decoration
Add a Decorative Touch (if desired): To add a decorative touch, attach a small wooden plaque or ornament below the towel ring. Use wood glue to secure it in place.
Step 5: Final Touches
Check Stability:
Ensure that the towel ring is securely attached to the wall and doesn’t wobble. Tighten any screws if necessary.
Hang Towels:
Once everything is secure, hang your towels on the newly created DIY towel ring.
Congratulations! You’ve successfully crafted a personalized towel ring that adds functionality and style to your space. Feel free to get creative with different materials, finishes, or additional decorative elements based on your preferences and the existing decor in your home.
Placement of towel ring

Proper placement of a towel ring is essential for both functionality and aesthetic appeal. Here are some guidelines to help you determine the ideal location for installing a towel ring:
Bathroom Towel Ring Placement:
Accessibility:
Install the towel ring within easy reach of the sink or shower, ensuring convenient access for drying hands or grabbing a towel after bathing.
Height:
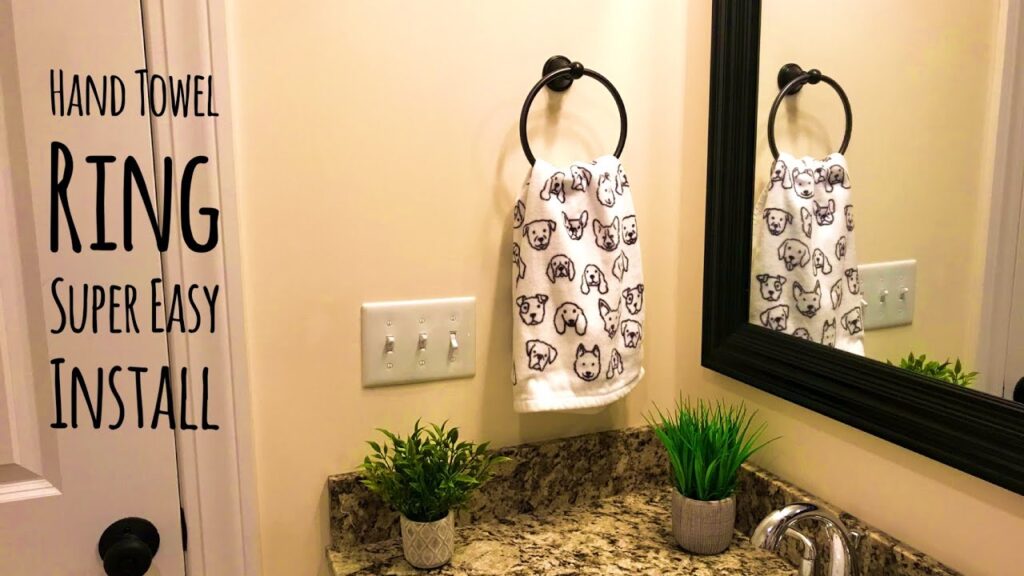
Place the towel ring at a height that is comfortable for all users. A common recommendation is to install it at about 50 to 52 inches (127 to 132 cm) above the floor.
Avoid Water Splashes:
Install the towel ring away from areas prone to water splashes. Placing it too close to the shower or sink might result in towels getting wet more frequently.
Proximity to Fixtures:
Consider the proximity to other bathroom fixtures. Ensure there is enough space for the towel to hang freely without interference from nearby items.
Visual Harmony:
Aim for visual harmony by aligning the towel ring with other bathroom accessories. This creates a cohesive and aesthetically pleasing look.
Kitchen Towel Ring Placement:
Proximity to Sink:
Install the towel ring near the kitchen sink for easy access to hand towels while cooking or cleaning.
Height:
Similar to the bathroom, consider installing the ring at a height that is convenient for all users, typically around 50 to 52 inches (127 to 132 cm) above the floor.
Avoid heat sources.
If installing near cooking appliances, ensure the ring is not too close to heat sources or open flames that could damage the towels.
Ease of Use:
Place the ring in a location where it is easy to grab a towel quickly without disrupting your workflow in the kitchen.
General Tips:
Multiple Rings:
If you have more than one towel ring, ensure they are spaced adequately and symmetrically. This helps maintain a balanced and organized look.
Consider User height:
Adjust the height of the towel ring based on the average height of household members. This ensures that towels are comfortably within reach for everyone.
Wall-Mounted vs. Vanity-Mounted:
Consider whether to mount the towel ring on the wall or a vanity. Wall-mounted rings save counter space, while vanity-mounted ones might be more suitable in certain settings.
Installation Stability:
Ensure that the wall or vanity can support the weight of the towel ring and towels, especially if they are wet.
By paying attention to these placement considerations, you can optimize the functionality and aesthetics of your towel ring, creating a practical and visually pleasing addition to your bathroom or kitchen space.