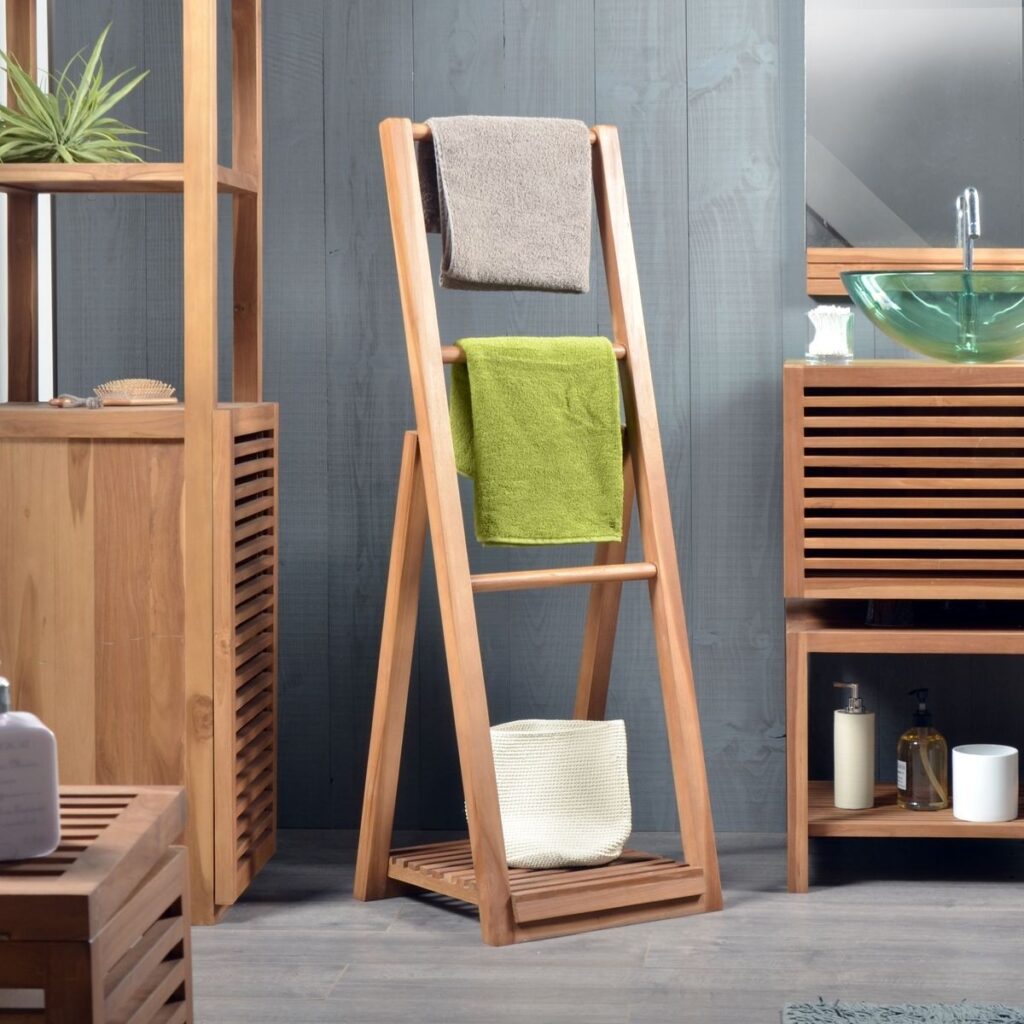
In the realm of DIY projects, making freestanding towel rack adds a personalized touch to your living spaces. This step-by-step guide is your blueprint for constructing a functional and stylish freestanding towel rack, providing both utility and aesthetic appeal.
Table of Contents

Materials required in Making Freestanding towel rack
Materials you’ll need:
- Wooden Boards: Choose sturdy and aesthetically pleasing wood for the main structure of your towel rack. Consider the dimensions based on the number of towels you want to hang.
- Wood Screws: Select screws that are appropriate for your chosen wood type and thickness. Ensure they are long enough to provide stability.
- Wood Glue: Opt for strong wood glue to reinforce joints and add durability to your towel rack.
- Wood stain or paint: Enhance the visual appeal of your towel rack with a finish that complements your interior decor.
- Drill and Drill Bits: A power drill is essential for making holes and assembling your towel rack.
- Measuring Tape: Precision is key, so have a measuring tape on hand to ensure accurate dimensions.
- Sanding Paper or Electric Sander: Smooth out any rough edges for a polished finish.

Step-by-Step Guide:
Step 1: Design Your Towel Rack
1.1. Sketch Your Design: Visualize the style and dimensions of your towel rack. Consider the number of towel bars and their spacing.
1.2. Measure and Plan: Determine the height and width of your towel rack based on your preferences and available space. Note the desired length for each towel bar.
Step 2: Gather Materials
2.1. Acquire Wood: Purchase the selected wood, ensuring it’s cut to the dimensions outlined in your design.
2.2. Collect Other Materials: Ensure you have all screws, wood glue, wood stain or paint, and the necessary tools ready.
Step 3: Cut and Sand
3.1. Cut Wood Pieces: Using a saw, cut the wooden boards according to your design. This includes vertical supports and horizontal bars for hanging towels.
3.2. Sand Edges: Smooth out any rough edges on the cut wood using sandpaper or an electric sander.
Step 4: Assemble the Vertical Supports
4.1. Mark Hole Locations: On each vertical support piece, mark the locations for the horizontal bars. Ensure they are evenly spaced.
4.2. Drill Holes: Use a drill bit appropriate for the size of your screws to create holes at the marked locations on the vertical supports.
Step 5: Attach Horizontal Bars
5.1. Apply Wood Glue: Place wood glue on the ends of each horizontal bar that will fit into the drilled holes.
5.2. Insert bars and secure: Slide the horizontal bars into the drilled holes on the vertical supports. Secure them in place using wood screws.
Step 6: Finishing Touches
6.1. Sand and Smooth: Sand the entire towel rack to achieve a smooth finish. Pay attention to corners and joints.
6.2. Apply Stain or Paint: Choose a wood stain or paint that complements your decor. Apply it evenly across the towel rack, following the product instructions.
6.3. Let it Dry: Allow the towel rack to dry completely before moving or placing towels on it.
Step 7: Display Your Towel Rack
7.1. Choose a Location: Decide where you want to place your freestanding towel rack. Consider factors like proximity to the shower or bath and overall aesthetics.
7.2. Enjoy Your Handiwork: Once your towel rack is in place, revel in the satisfaction of using a functional and visually appealing DIY creation.
Conclusion: Personalized Comfort at Your Fingertips
Building a freestanding towel rack not only adds a practical element to your home but also allows you to infuse your style into everyday items. Enjoy the warmth of knowing that your towels are not just hanging; they are displayed on a handcrafted piece that reflects your creativity and woodworking skills.
want to buy towel click here